
Tennis themed matcha cupcakes with mini white chocolate and lime macarons
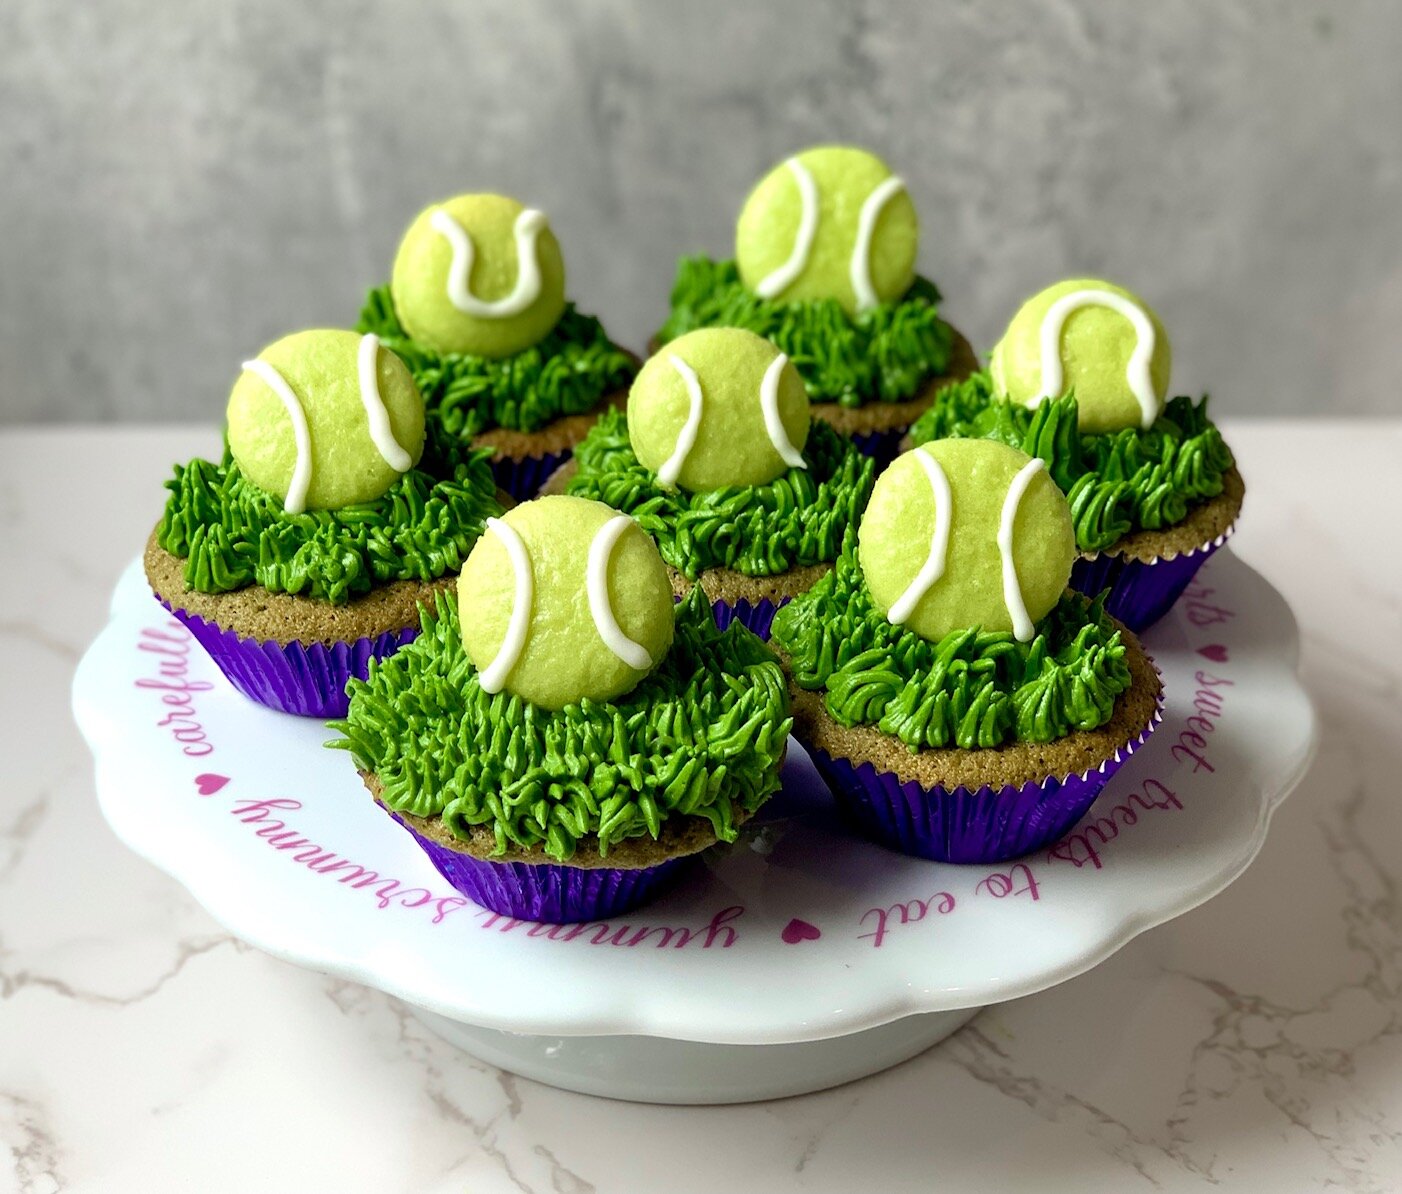
Wimbledon themed cupcakes topped with mini tennis ball macarons
I had a lot of fun this week making these cupcakes. Not least because I got to experiment with some new techniques. This is the best thing about taking part in the Sunday Afternoon Baking Club on Instagram, it really pushes me to learn and expand my experience as a baker!
This is my first attempt ever at macarons and so I scoured the internet for the easiest possible recipe I could find. I also hadn’t made matcha cupcakes before or attempted this piping technique, hence really wanted to keep things as simple as possible!
It seemed a French macaron was in order as this does not involve the faff of heating sugar on a stove and melting it in to a syrup. There were still quite a few tips that I picked up on the French macaron recipe though from my reading which I have included in my steps below.
I wasn’t sure what filling to make for my macarons, I knew the macaron needed to be a lime green colour to match a tennis ball and so figured lime was a good place to start for the filling. I also wanted something that would go well with the earthy flavour of matcha. White chocolate ganache seemed the perfect answer and so my white chocolate and lime ganache was born, and it is absolutely yummy if I do say so myself.
I did have a little trouble with getting the texture right as it’s easy to overwhip this ganache, but thankfully it could easily be fixed.
Whilst we are on the subject of fixes and hacks, I also recently discovered a hack to intensify the colour of buttercream icing without adding more colouring and so used this for the grass. I can’t believe how easy yet effective it is! Read on below to see how to do this.
Time: 2-3 hours, plus it’s preferable to make the macaron a day or two in advance as the texture improves over time.
Makes: 9 cupcakes and about 25 mini macarons (as this was my first attempt at macarons I stuck to the quantities of the basic ingredients per the recipe I found).
Ingredients
Macarons
3 egg whites
1 pinch of salt
225 icing sugar
175g ground almonds
Lime green food colouring
To decorate: white pipeable icing, you can buy this pre mixed (though I did have some and found it too stiff so watered it down. You could also make your own mix using icing sugar mixed with water. Start off with a few tablespoons of icing sugar and add the water a drop or two at a time as you do not need much. If you are like me you will find it goes too runny and you will need to add more icing sugar and by the time you’re done you’ll have way more than you need!
Ganache
50ml double cream
150g white chocolate
Zest and juice of 1-2 limes
Cupcake
Credit to kitchenstories.com which this matcha cupcake recipe is adapted from, the original recipe can be found here.
1 egg, separated
140g plain flour
1 ¼ tsp baking powder
¼ tsp salt
90g butter
175g caster sugar
1tsp vanilla extract
120ml milk
1 ½ tbsp matcha powder
Matcha buttercream
120g butter
180g icing sugar
1 tbsp milk or cream
¾ tsp vanilla extract
½ tbsp matcha powder
Pinch of salt
Green food colouring – I didn’t have a green but did have blue and yellow and so made a mix. This is optional, you may prefer to keep it natural, but as I wanted the colour to mimic grass as closely as possible, I decided to use some colouring. I also used my buttercream icing hack to intensify it as much as possible. It’s such a good trick! (see below)
Notable equipment
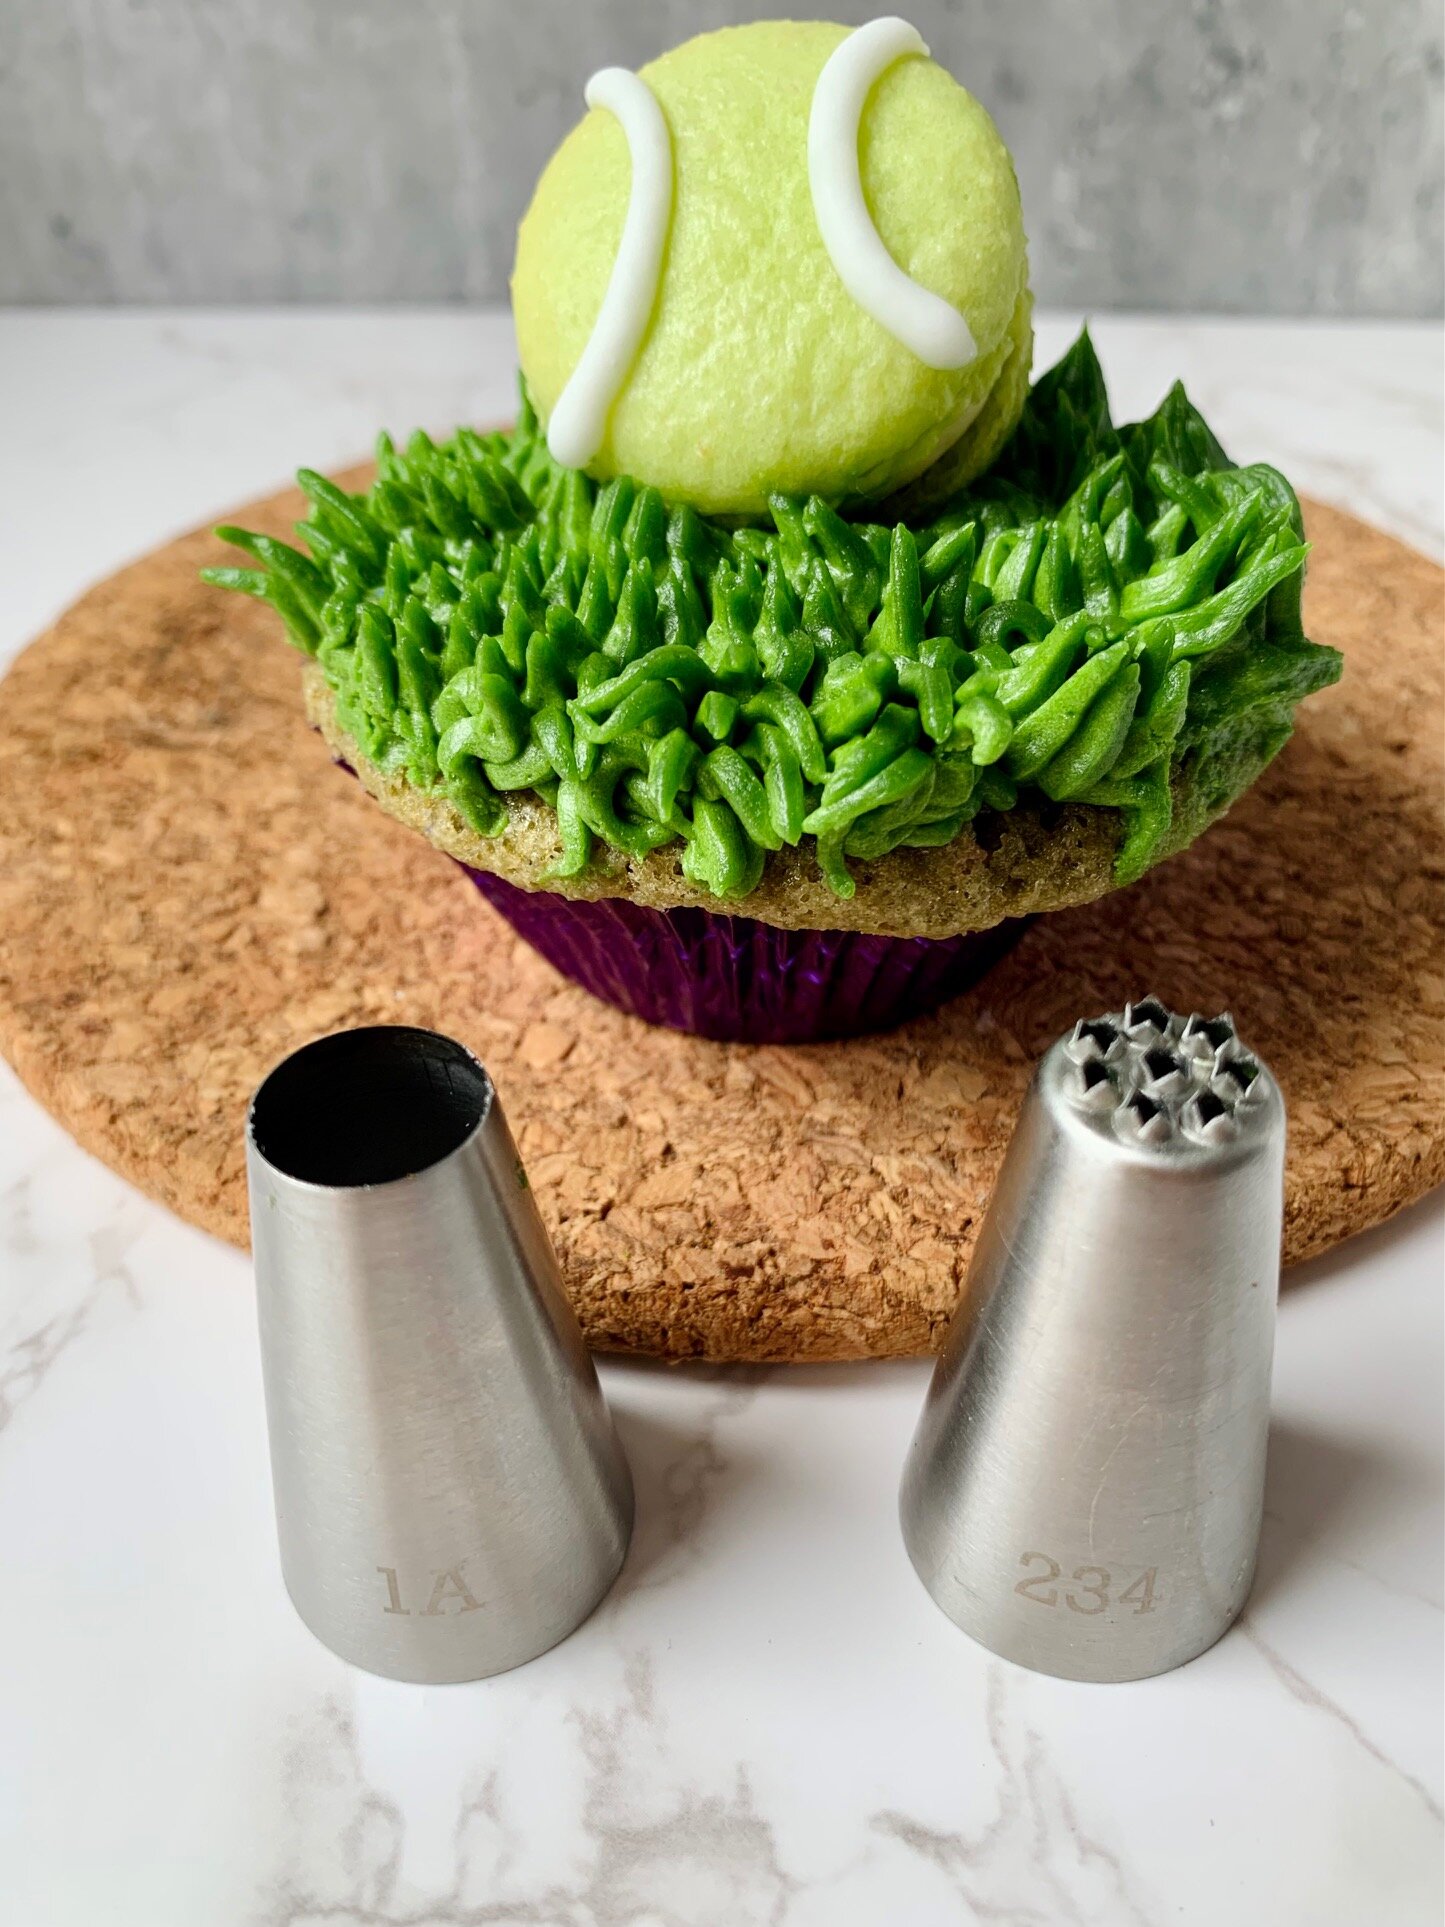
To make the grass effect icing I used a 234 Wilton nozzle.
I wouldn’t say it is essential but the 1A Wilton nozzle is just perfect for piping the macarons and also piping the filling in to the macarons. In my world, this is an essential nozzle to have!
Method
Macarons
Prepare you baking tray by lining it with baking parchment, or in my case I treated myself to a snazzy silicone macaron baking sheet that didn’t need lining.
Prepare a piping bag with a wide round nozzle.
Put the ground almonds and icing sugar in a food processor and pulse about 20 times, this should make the mixture much finer than before and give the macaron a much more pleasant texture than if you skipped this step. It’s especially necessary if your icing sugar has been open for a while as it tends to clump when exposed to air over time.
To make it even smoother and avoid any lumps, then sieve the mixture in to your main mixing bowl and discard any residual lumps of almond or icing sugar.
Put the egg whites in a bowl with a pinch of salt and whisk until stiff.
Add the egg whites to the almond mixture along with just a small drop of food colouring. In my macarons I squeezed as small a drop as I could as you can add more but you can’t take away once it’s in there. The amount you will need will vary depending on the colour you want and the colouring you are using. I would advise using a gel food colouring as a more liquid food colour can impact the moisture balance and therefore texture of the macaron.


Gently mix the mixture to combine using a folding and cutting motion. Some people say you should aim for about 50 folds, I did count and personally I went a bit over. You can tell the mix is ready when the mixture falls off the spoon and you can create a figure 8 with the mixture in the bowl before it dissipates back in to the main mix. Essentially it should be able to form ribbons.
Pour the batter in the piping bag and then pipe the macarons out on the baking tray at even intervals to the size you want.

Placing the piping bag in to a tall vase or glass makes it so much easier to fill!
Tap the tray on the countertop a few times which will encourage air bubbles out of the macarons and you may see some ready to burst on the surface. Take a toothpick and pop them then use the tip to gently resmooth the batter out.

Leave the macarons to dry out slightly for about 30 minutes. By the end of this time you should be able to touch the macarons gently without anything coming off on your finger.

This silicone macaron sheet is really handy, there is an inner ring to guide you with smaller macarons and an outer ring for larger ones.
Preheat the oven to 150c/ Gas mark 2
Bake the macarons for 13 minutes, then remove from the oven and leave to cool.
Ganache
Break up your white chocolate or chop it up in to small blocks and place in a microwaveable bowl along with the cream.
Microwave for 30 second at a time, stirring at each interval until the chocolate has melted.
Grate in the lime zest and add in the lime juice. Taste it and add in more until you have the balance of sweet chocolate to zesty lime that you like.
You will find the mixture is quite runny, don’t fear. Place it in the fridge for about 10 minutes where it will thicken up.


Remove from the fridge and using a hand mixer ideally, whisk up the ganache, you will see it goes much lighter and fluffier. Be careful not to overbeat. If you do take it too far, you can simply heat the mixture in the microwave again so it melts and repeat the cooling and whisking process. You’ll see in the photos here I totally overwhipped it and it became very grainy but it was fine in the end as you can see in the last photo.
Spoon the ganache into a piping bag with the same round nozzle and pipe on to a macaron half and the sandwich with another. Ensure the macarons are completely cool else the ganache will start to melt.
Take your white icing and place in to a piping bag with a fine nozzle. Pipe the ball pattern on the macaron then place them in the fridge for the ganache to firm up and the macaron to “mature” the macaron shell, ideally for a day or two. Apparently this makes the texture a little better with a chewier inside and nice initial bit to the shell. Personally I did not notice a huge difference but given I also had to make the cupcakes it suited me nicely to break up the task and make the macarons in advance anyway.
Cupcakes
Line a cupcake tray with cupcake cases, I happened to have some metallic purple ones at the back of my cupboards at home which coincidentally were perfect for the Wimbledon theme (love it when things like that happen).
Preheat your oven to 180c
Weigh out the flour, baking powder, salt and matcha powder and mix.
In a separate bowl, using a whisk or hand mixer, beat the egg white until it forms soft peaks, this will help to give the cake a lighter texture.

Cream the butter and sugar in a large mixing bowl. It should be light and fluffy and almost white. See the difference in the two mixes below, you may be tempted to stop when the mix looks like the picture on the left, but keep going until it is really light!

Before and after. You should aim to keep beating the butter and sugar until it is almost white as on the right hand side. This is true of most baking when creaming butter and sugar.
Add in the vanilla extract and the egg yolk and mix again until combined.
Sift in the flour, matcha powder mix and add the milk then mix again until just combined.
Fold in the egg whites, this is best done with a spatula by hand so you can be really gentle. The whites should loosen up the mixture whilst also keeping it nice and light. It should not be a particularly runny mix as far as cake batters go.
Spoon the batter in to your cupcake cases, about 2/3 full.


Bake for 18-22 minutes, a skewer should come out clean when poked in to the centre of the cupcake.
Whilst the cupcakes are cooling, you can make the matcha buttercream icing.
Beat the butter in a stand mixer until smooth and creamy. Many people say you should do this with butter that is at room temperature but I actually find the butter whips better when cold from the fridge. You really need the power of a stand mixer to mix the butter from cold though.

This is the icing with no colouring, only matcha
Sieve the icing sugar in to the bowl along with the matcha powder and the salt. Mix together gently with a spatula by hand first else the icing sugar will fly out the bowl, but once partially incorporated you can go back to using your stand mixer to get it nice and light. Add in your milk or cream to loosen up the icing if it is too thick and the vanilla extract.
Add in the food colouring to your preference. As mentioned above, I use a little trick to intensify the colour without adding more colouring, in fact, sometimes no matter how much colouring you add, it just reaches a level where it will not darken anymore and so this is great where you just need to push the colour a couple shades darker. It is an optional step though.
Buttercream icing hack - how to intensify the colour
This is so easy. All you do is place the buttercream in the microwave (make sure you are using a microwaveable bowl) and heat it for about 10-20 seconds so it starts to melt down.
Give it a stir and you will immediately see the colour darkens. It will now be too runny to use and so place it in to the fridge so it thickens back up.
Finally, beat the icing again with your whisk and you will find it returns back to normal buttercream texture but will have a stronger colour. Magic!


Once the cakes are cooled, add the icing to the piping bag with your grass nozzle and pipe on to the cupcakes. I prefer to start from the outside and dot around the edge working inwards in concentric circles. The middle needn’t be as perfect given the macaron will go on top.
Finally, top the cupcakes with a tennis ball macaron. I very slightly angled mine back rather than being totally vertical, as I just think this looks better. You’ll find the buttercream provides a nice foundation that will keep the macaron in place in whichever position you prefer.
Stand back and admire, you are done!
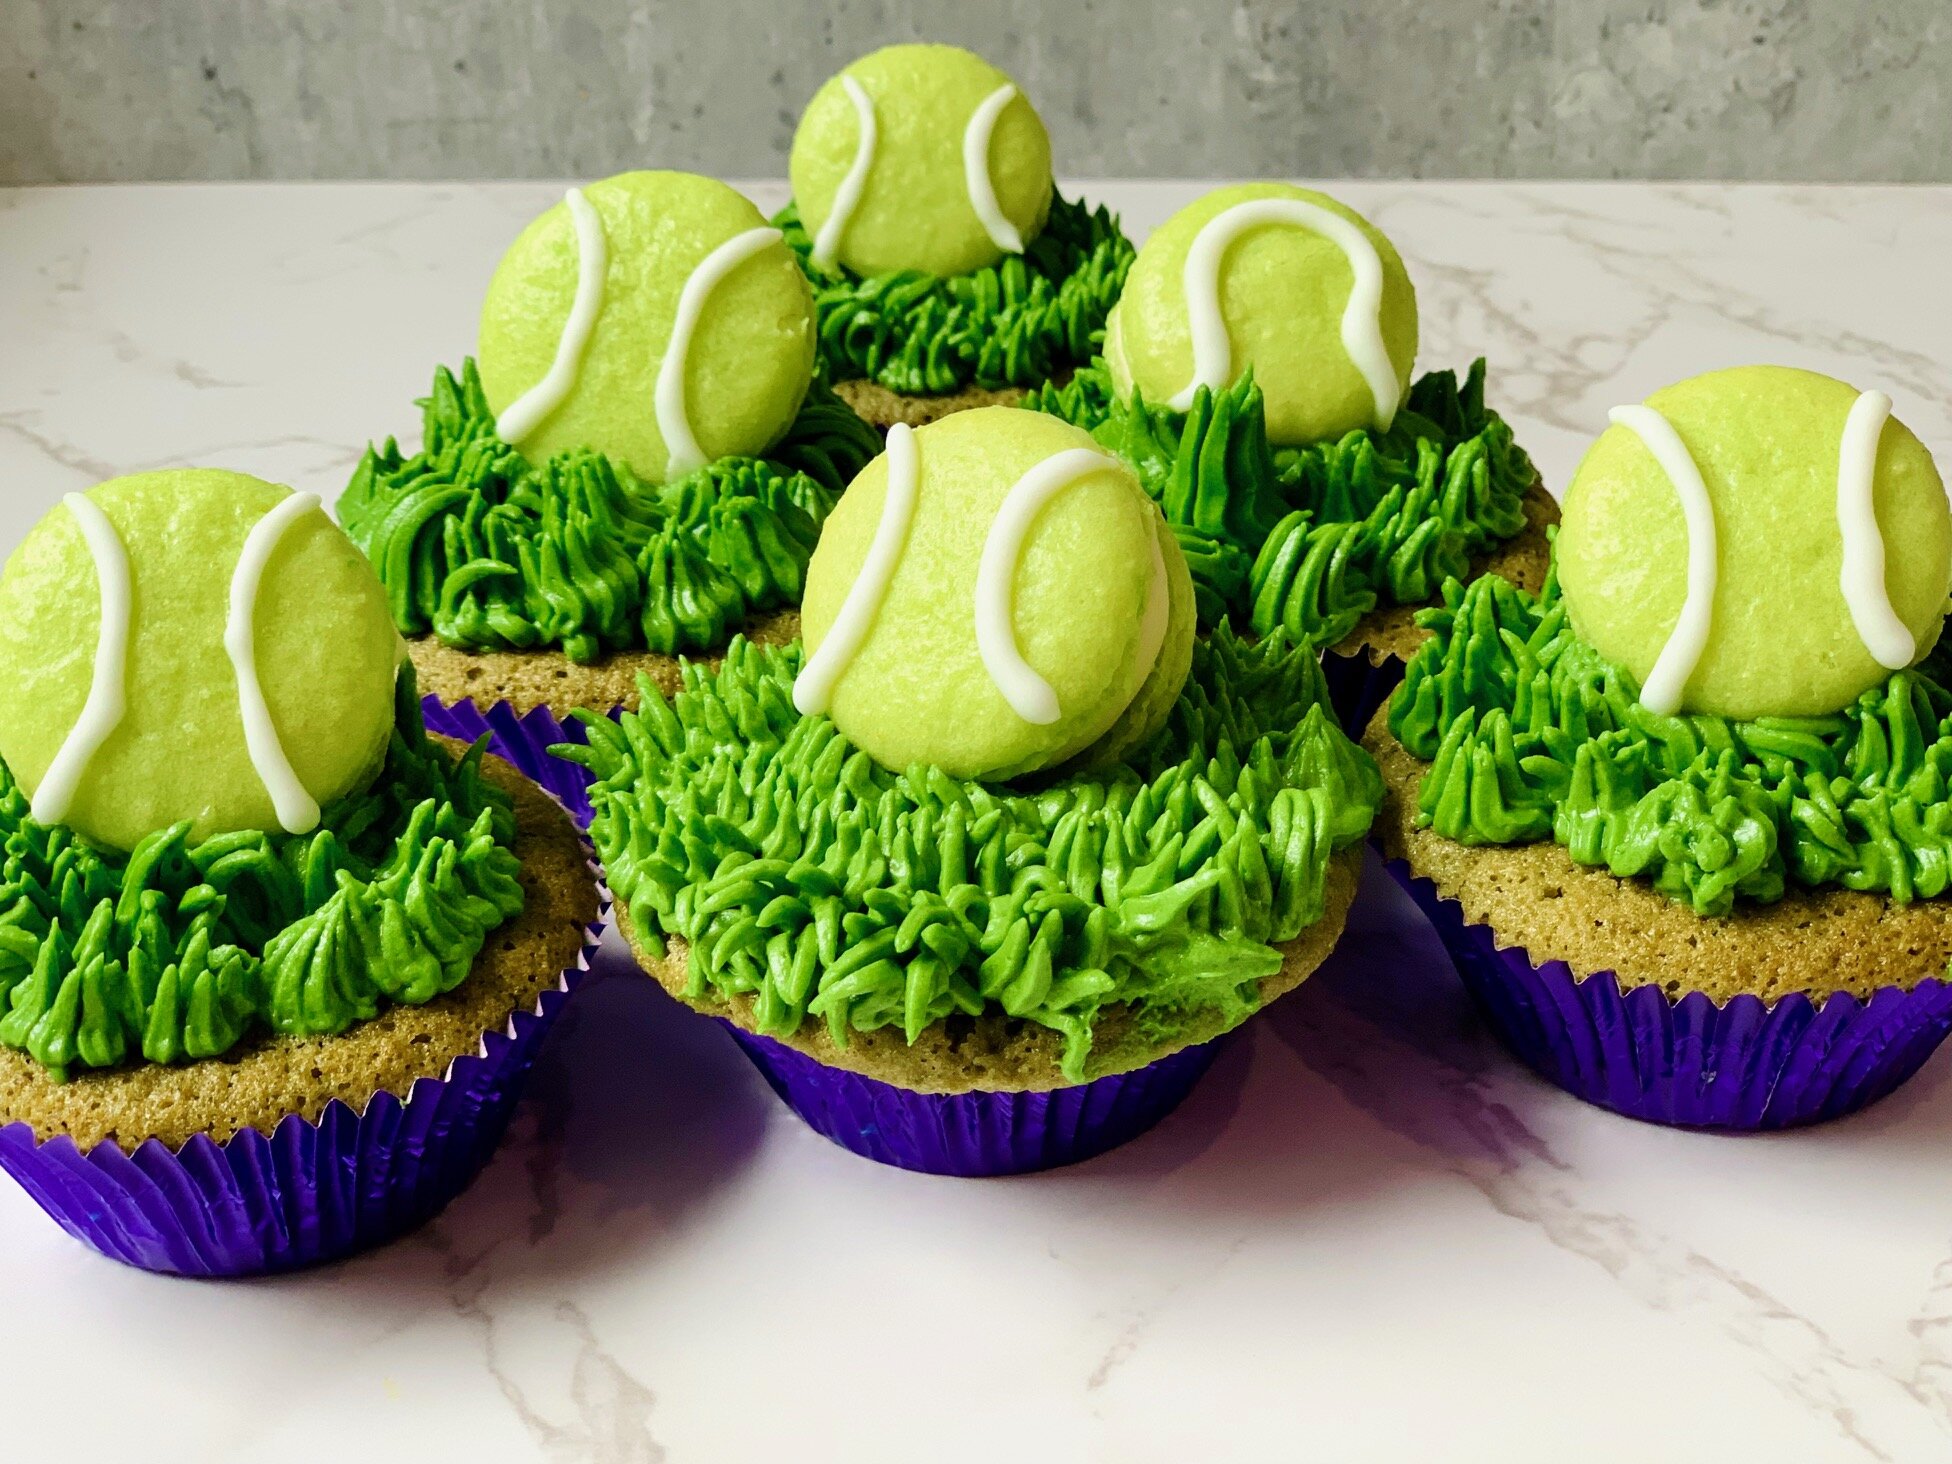
Wimbledon themed cupcakes topped with mini tennis ball macarons. Metallic purple cases finish off the Wimbledon theme.